Blooket Dashboard Guide: Login, Host & Play in 5 Steps
The Blooket dashboard is the home screen of your Blooket account. After you sign in, it is the first page you see, and it holds every tool you need: your question sets, your games, your homework, your reports and your Blooks. Teachers use it to build sets and host games; students use it to join games and track stats. This guide explains every part of the Blooket dashboard in simple steps, so you can find what you need fast.
You do not need to be a tech expert. The dashboard is simple by design, and once you know where each tab lives, running a game takes only a few minutes. In this guide from Techsslaash, you will learn how to open your dashboard, what each tab does, how to host a game, and how to fix the most common problems.
What Is the Blooket Dashboard?
The Blooket.com dashboard is the control panel you see after you sign in to your Blooket account at dashboard.blooket.com. Think of it as your desk: everything you need sits in one place. Teachers find their question sets, their classes, their hosted games and their reports here. Students find their homework, their game stats and their Blook collection here.
The dashboard looks different for teachers and students, because each account type gets different tools. Teachers can create sets, host games and read reports. Students can join games, do homework and spend tokens in the Market. Both versions live at the same address, and your account type decides which tabs you see. Blooket is a classroom game platform created by brothers Tom and Ben Stewart, built to keep lessons moving with as few clicks as possible.
How to Open Your Blooket Dashboard in 5 Easy Steps
Opening your dashboard takes less than a minute. There is no separate Blooket dashboard login page. You sign in to your Blooket account, and Blooket takes you straight to your dashboard. Follow these five steps.
- Go to the official Blooket website and click Log In, or go straight to id.blooket.com, the sign-in page.
- Pick the way you signed up: email and password, Sign in with Google, or Log in with Clever. Use the same method every time, as each account is tied to one sign-in method.
- Enter your details and click Log In. If you signed up with Google, pick the same Google account you used at sign-up.
- Blooket opens your dashboard at dashboard.blooket.com. Bookmark this page so next time you can open the Blooket dashboard in one click.
- Check the left sidebar. Create and Host mean a teacher account. Play and Homework mean a student account.
The 4 Blooket Addresses You Should Know
Blooket uses four web addresses, and mixing them up causes most login confusion.
- blooket.com: the public site. The Log In button here sends you to the sign-in page.
- id.blooket.com: the sign-in page, where every login starts with email, Google or Clever.
- dashboard.blooket.com: your account home after sign-in. Sets, hosting, reports, stats and the Market all live here.
- play.blooket.com: the join page, where students enter a game code. No account or login is needed to join a game.
Blooket Dashboard Tabs Explained
The left sidebar is the menu of the Blooket dashboard. Each tab opens a different tool. The tabs you see depend on your account type. Here are the main tabs.
Teacher Dashboard Tabs
- Create: build a new question set, or import questions from a file or another set.
- Discover: search Blooket Dashboard Discover, the public library of teacher-made sets, and copy any set into your own account.
- My Sets: every set you created or copied, ready to host or edit.
- Favorites: sets you starred so you can find them fast.
- History: a record of the games you hosted, with a report for each one.
- Homework: assignments you created for students to play at their own pace.
- Settings: your account options, username, password and teacher account switch.
Student Dashboard Tabs
- Play: join a live game with a code from your teacher.
- Homework: games your teacher assigned, with their due dates.
- Stats: your game history, your best scores and your progress.
- Market: spend tokens on Blooks, banners and titles.
- My Blooks: the collection of Blooks you own.

My Sets: Create, Find and Manage Question Sets
My Sets is where your question sets live. A question set is a list of questions and answers on one topic, and every game starts from a set. In Blooket dashboard My Sets, you can open any set, edit its questions, copy it, share it, or delete it.
To build a set, click Create and type your questions one by one, or import them from a file. To save time, open Discover and search for a set on your topic. If you find one you like, copy it to My Sets and edit it to fit your class. Teachers often keep one set per topic and reuse it all year, so a tidy My Sets page saves time.
Host Games and Assign Homework From Your Dashboard
Hosting turns a set into a live game. Open any set in My Sets, click Host, and pick a game mode. Blooket gives you a game code, and students join at play.blooket.com with that code. You can set a time limit and pick how players join. When everyone is ready, start the game and watch the leaderboard update live.
Homework works the same way, but students play at their own pace. Pick a set, click Assign, choose a game mode and a due date, and share the link with your class. Students open the link, play the game when it suits them, and their results appear in your reports. It turns revision into a game without using class time.
Reports, History and Stats: See How Students Did
After a game ends, the History tab of your Blooket dashboard shows what happened. Each entry lists the game mode, the set title, the number of players and the date played. Click any game to open its report, with the final leaderboard and class totals. This is how teachers spot the questions most students missed.
The free plan covers unlimited question sets and live games with up to 60 players. Blooket Plus adds question-level breakdowns, individual student reports and spreadsheet downloads, and it can host up to 300 players in most modes. Plus costs around 4.99 dollars a month on the annual plan, or around 9.99 dollars a month with no annual commitment. Prices can change, so check the official Blooket site first.
Market and Tokens: Collect Blooks
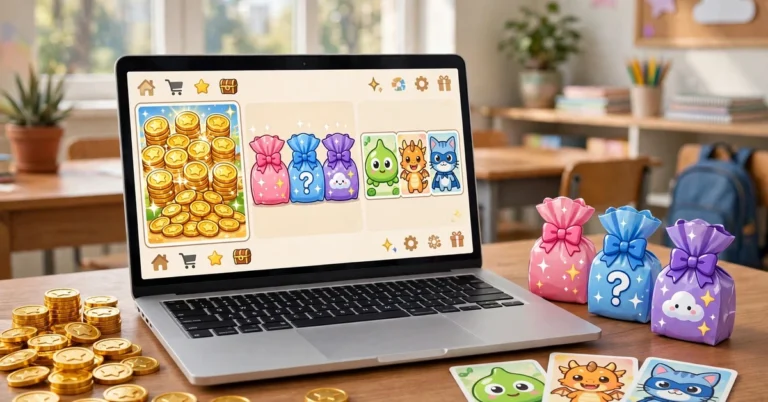
The Market is the fun side of the Blooket dashboard. Students earn tokens by playing games, then spend them in the Market on Blooks, banners, titles and Blook parts. Tokens are not real money and cannot be bought with cash. They reward playing and learning.
To open the Market, sign in and pick Market in the left sidebar, or use the icon near the bottom of the page. You can buy and open several packs at once, and the total cost updates as you change the amount. Rare Blooks are hard to find, so collecting them is part of the fun for many students.
Blooket Dashboard Not Working? 7 Quick Fixes
Most dashboard problems come from a login mix-up, old browser data, or a school block. Work through these fixes in order.
- Use the right sign-in method. If you signed up with Google, sign in with Google. Email and password will not open a Google account.
- Check your username and password. Usernames are case-sensitive, so type them exactly as you registered them, and check that Caps Lock is off.
- Reset your password. On the sign-in page, click Forgot Password and follow the email link. Check your spam folder if the email does not arrive.
- Clear your cache and cookies. Old saved data can freeze the dashboard on a blank screen. A hard refresh or a private window can confirm the cause.
- Try another browser. Blooket works best in an up-to-date Chrome browser. Turn off ad blockers too, as they can block parts of the site.
- Check your account type. If Host and Create are missing, you are on a student account. Only a teacher account can host games or create sets.
- Ask your school IT team. If Blooket is blocked at school, only the school can allow it. Test the same device on mobile data to confirm the block.
Tips to Get More From Your Blooket Dashboard
A few small habits make the dashboard much faster to use.
- Bookmark dashboard.blooket.com once you are signed in, so you skip the login page next time.
- Star your best sets in Favorites so you can host them in seconds.
- Search Discover before you build a set. A good set often already exists.
- Check your History reports after each game to find the questions your class found hard.
- Keep one set per topic in My Sets, with a clear name, so you can find it fast next term.
- For more step-by-step help, browse our How To guides.
Frequently Asked Questions
How do I log in to the Blooket dashboard?
Go to id.blooket.com and sign in with email, Google or Clever, using the same method you used at sign-up. Blooket then opens your dashboard. If you only have a game code, go to play.blooket.com instead. No login is needed to join a game.
Is the Blooket dashboard free?
Yes. A free account gives you unlimited question sets and live games with up to 60 players. Blooket Plus is optional and adds deeper reports and bigger games.
Why can I not see the Host button on my Blooket dashboard?
Hosting is a teacher-only tool. If you signed in with a student account, the Host and Create buttons will not appear. Sign in with a teacher account instead.
Can students use the Blooket dashboard without an account?
Students can join a live game without an account by entering a game code at play.blooket.com. But guests do not save tokens, Blooks or stats. An account is needed to keep progress.
Does Blooket work on a Chromebook?
Yes. Blooket runs fully in the browser, so a Chromebook needs only Chrome and an internet connection. There is no official Blooket app to install.
The Blooket dashboard puts every classroom game tool in one place: sets, games, homework, reports and Blooks. Learn the five login steps, know the four web addresses, and keep your sets tidy, and the dashboard will save you time in every lesson. For more simple tech guides, visit Techsslaash, and read our Tech News section for the latest updates in education technology.




13 Comments